Hey there, fellow students! Ever felt that rush when your code finally works after hours of debugging? That's exactly how I felt when I built my first website from scratch. Between JEE preparation and school assignments, I somehow managed to create something I'm proud of. Here's my journey, complete with all the struggles, victories, and everything I learned along the way.
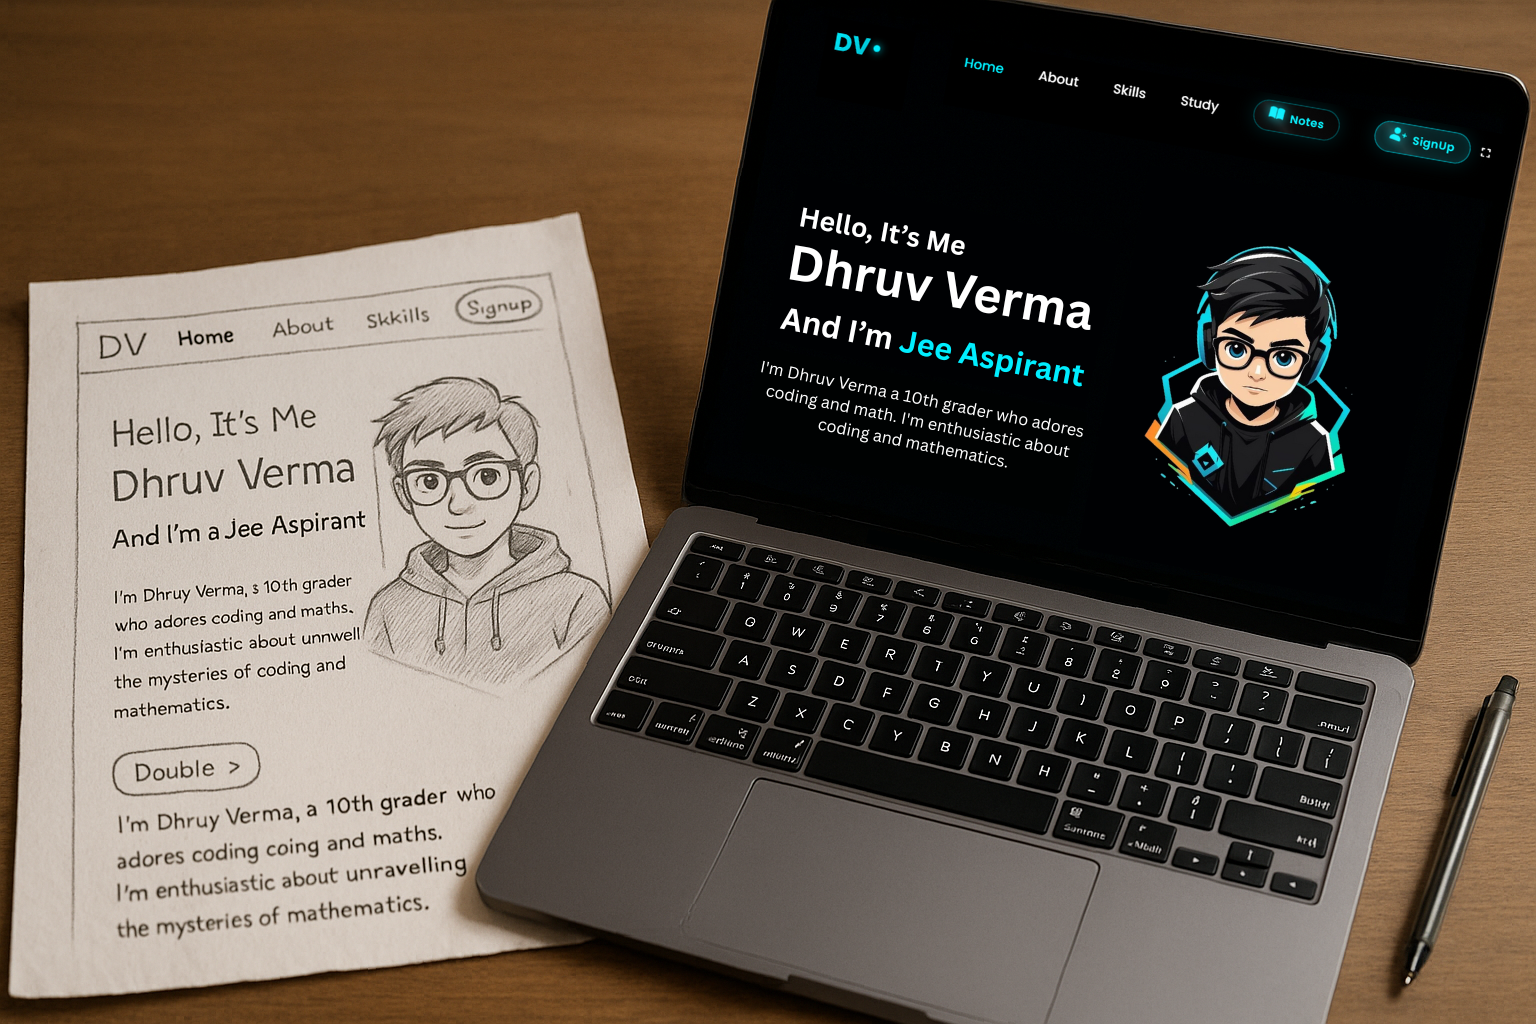
The evolution of my website: from paper sketch to final design
Why I Decided to Build a Website
Let's be real – between solving JEE physics problems and cramming for school exams, the last thing I needed was another project. But I kept seeing these amazing developer portfolios online and thought, "I want that too!" Not just for college applications or to impress others, but to have a digital space that represents ME.
Plus, I had three specific goals in mind:
- Practical application of what I was learning
- Creating a portfolio to showcase my projects (even though I barely had any at that point!)
- Having something impressive to show when introducing myself at coding meetups
My Development Journey: A Timeline
Week 1: Planning & Research
Spent hours browsing other developer portfolios, sketching layouts, and deciding on content structure.
Week 2: HTML Structure
Created the basic skeleton of the website with semantic HTML elements.
Week 3-4: CSS Styling
This took the longest! Experimented with different color schemes before settling on the dark theme with teal accents.
Week 5: JavaScript Functionality
Added interactive elements like the typing effect, smooth scrolling, and mobile navigation.
Week 6-8: Testing & Refinement
Fixed bugs, improved mobile responsiveness, and optimized performance.
Building the Foundation with HTML
HTML (HyperText Markup Language) forms the structure of any website. Think of it as the skeleton that holds everything together. I started with a simple index.html file and built from there.
One of the most important lessons I learned early on was to use semantic HTML instead of just throwing div elements everywhere. This not only makes your code more readable but also helps with accessibility and SEO.
<html lang="en">
<head>
<meta charset="UTF-8">
<meta name="viewport" content="width=device-width, initial-scale=1.0">
<title>Dhruv Verma | Web Developer</title>
<link rel="stylesheet" href="styles.css">
</head>
<body>
<header>
<div class="logo">DV</div>
<nav>
<ul>
<li><a href="#home">Home</a></li>
<li><a href="#about">About</a></li>
<li><a href="#skills">Skills</a></li>
<li><a href="#study">Study</a></li>
</ul>
</nav>
<button class="mobile-nav-toggle"><span></span></button>
</header>
<main>
<section id="home" class="hero">
<div class="hero-content">
<h1>Hello, It's Me</h1>
<h2>Dhruv Verma</h2>
<p>And I'm a <span class="typing">Web Dev</span></p>
</div>
</section>
<!-- More sections here -->
</main>
<footer>
<p>© 2025 Dhruv Verma. All rights reserved.</p>
</footer>
<script src="script.js"></script>
</body>
</html>
Notice how I used semantic elements like <header>, <nav>, <main>, <section>, and <footer> instead of just <div> elements. This gives structure and meaning to different parts of the page.
HTML Best Practices I Learned
- Use semantic HTML elements - They give meaning to your content and help with accessibility
- Keep your HTML clean and organized - Use proper indentation and comments to make your code readable
- Validate your HTML - Use tools like the W3C Validator to check for errors
- Make your site accessible - Include alt text for images and ensure proper contrast for text
Styling with CSS: Making It Look Good
This is where the real fun began! CSS (Cascading Style Sheets) is what transforms a plain HTML document into something visually appealing. I spent the most time on this part, experimenting with different styles until I found what felt right.
CSS Concepts I Mastered
- Flexbox - A game-changer for creating responsive layouts
- CSS Variables - Using :root to define colors and reuse them
- Media Queries - Making my site look good on all devices
- Animations - Adding subtle effects for better user experience
- Gradients - Creating smooth color transitions
--primary-color: #00e1ff;
--background-color: #0a0a0a;
--text-color: #ffffff;
--secondary-text: #b0b0b0;
}
.hero {
display: flex;
align-items: center;
justify-content: space-between;
min-height: 100vh;
padding: 0 10%;
}
The dark theme with teal accents wasn't my first choice, actually. I started with a light theme but switched after realizing how much time I spent coding at night – easier on the eyes! Plus, the dark theme with bright accents gives that modern tech vibe I was going for.
CSS Breakthrough Moment
After struggling with positioning elements for days, I finally understood how Flexbox works. It was like a light bulb moment! Suddenly, layouts that seemed impossible became simple. If you're struggling with CSS layouts, focus on mastering Flexbox first – it's a complete game-changer.
Adding Interactivity with JavaScript
With HTML and CSS in place, my site looked good but felt static. JavaScript brought it to life! I started with simple functionality and gradually added more complex features.
Mobile Navigation Toggle
My first JavaScript feature was a hamburger menu for mobile devices. It toggles a class that shows/hides the navigation menu when clicked.
const nav = document.querySelector('nav');
navToggle.addEventListener('click', () => {
nav.classList.toggle('active');
navToggle.classList.toggle('active');
});
Typing Effect Animation
The typing effect on my homepage (where it shows "And I'm a Web Dev") was particularly satisfying to implement. It types out text character by character, creating that cool terminal-like effect.
const words = ['Web Dev', 'Student', 'Coder', 'JEE Aspirant'];
let wordIndex = 0;
let charIndex = 0;
let isDeleting = false;
function type() {
const currentWord = words[wordIndex];
if (isDeleting) {
typingElement.textContent = currentWord.substring(0, charIndex - 1);
charIndex--;
} else {
typingElement.textContent = currentWord.substring(0, charIndex + 1);
charIndex++;
}
// Logic for cycling through words
if (!isDeleting && charIndex === currentWord.length) {
isDeleting = true;
setTimeout(type, 1500); // Pause at end of word
} else if (isDeleting && charIndex === 0) {
isDeleting = false;
wordIndex = (wordIndex + 1) % words.length;
setTimeout(type, 500); // Pause before typing next word
} else {
setTimeout(type, isDeleting ? 50 : 100);
}
}
// Start the typing effect
setTimeout(type, 1000);
Smooth Scrolling
Implemented smooth scrolling when clicking on navigation links, which greatly improves user experience.
Form Validation
Added client-side validation for the contact form to ensure users enter valid information before submitting.
Balancing Web Development with JEE Preparation
This was perhaps my biggest challenge. JEE preparation demands consistent study, and I didn't want to fall behind. Here's how I managed to balance both:
My Study Schedule
- Morning (5 AM - 6 AM): Revision
- School Hours (7 AM - 2 PM)
- Afternoon (4 PM - 8 PM): JEE Chemistry and Mathematics
- Evening (8 PM - 9 PM): Coding
- Night (9 PM - 12 PM): JEE preparation or more coding
Time Management Tips
- Set specific goals for each coding session
- Keep a coding journal to track progress
- Use weekends for longer coding sessions
- Combine learning - use physics/math concepts in your projects
The key was consistency. Even on days when I could only spare 30 minutes for coding, I made sure to use that time effectively. Small progress is still progress!
Challenges I Faced (And How I Overcame Them)
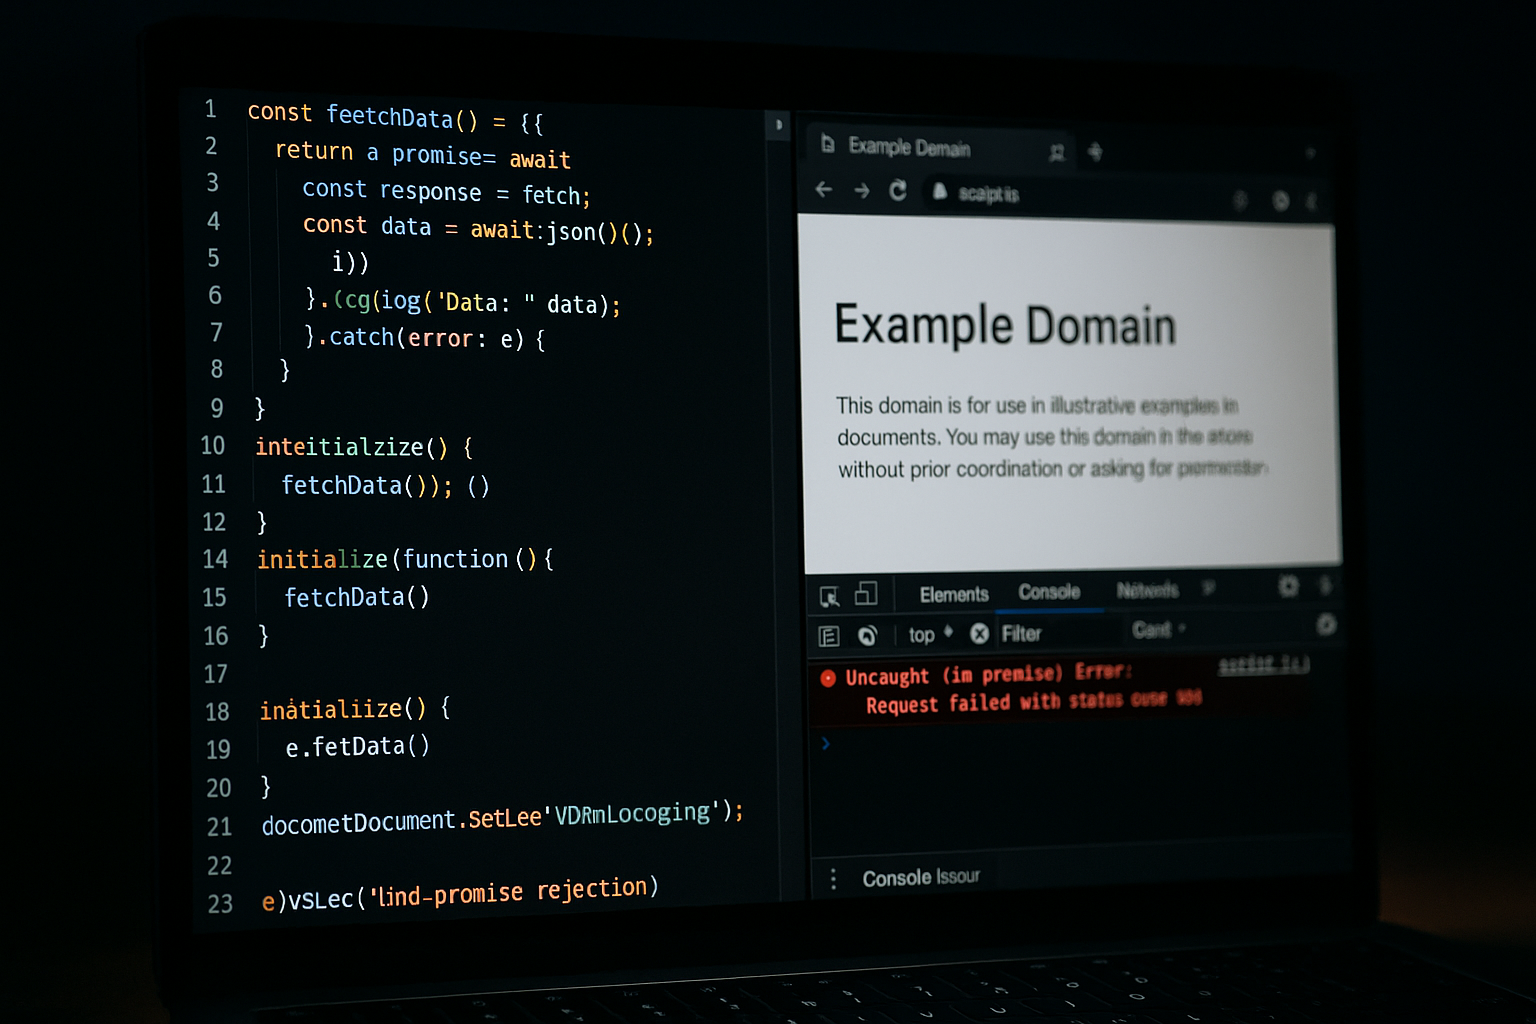
Late night debugging session - a familiar sight for any web developer
1. Responsive Design Struggles
Making my site look good on all devices was harder than expected. Elements that looked perfect on desktop would break completely on mobile. My solution? I adopted a mobile-first approach – designing for small screens first, then adding complexity for larger screens.
This completely changed my perspective. Instead of trying to cram a desktop design into a mobile screen, I built for mobile and then enhanced for desktop. The result was much cleaner code and a better user experience.
2. Browser Compatibility Issues
What worked in Chrome sometimes broke in Firefox or Safari. I learned to check compatibility on caniuse.com before using newer CSS features and to test on multiple browsers.
One specific issue was with the backdrop-filter property I used for a frosted glass effect in my navigation. It wasn't supported in some browsers, so I had to create a fallback style.
3. The Perfectionism Trap
I kept tweaking colors, spacing, and animations, never feeling like it was "done." Eventually, I had to set a deadline for myself and accept that websites are never truly finished – they evolve over time.
A mentor gave me great advice: "Done is better than perfect." This helped me finally launch my site instead of endlessly tweaking it.
What I Learned Beyond Coding
Building my first website taught me much more than just HTML, CSS, and JavaScript. Here are some valuable life lessons I gained:
- Persistence pays off - There were moments I wanted to give up, especially when facing bugs I couldn't solve immediately. Stepping away and returning with fresh eyes usually helped.
- Learning to learn - I became better at finding solutions independently through documentation and forums rather than just following tutorials.
- Time management - Balancing this project with JEE preparation improved my ability to prioritize and make the most of limited time.
- Embracing feedback - Showing early versions to friends helped me see blind spots in my design and functionality.
- The power of community - Stack Overflow, GitHub discussions, and Discord communities saved me countless times. Don't be afraid to ask for help!
Resources That Helped Me The Most
- MDN Web Docs - The most reliable reference for HTML, CSS, and JavaScript
- freeCodeCamp - Their responsive web design curriculum is excellent
- Kevin Powell's YouTube channel - Amazing CSS tutorials
- Web Dev Simplified - Clear explanations of complex concepts
- Frontend Mentor - Real-world projects to practice your skills
Tools and Technologies I Used
All completely free and perfect for beginners:
Development Tools
- VS Code - Free code editor with helpful extensions
- GitHub - For version control (after losing work twice!)
- Chrome DevTools - Essential for debugging
Resources
- Google Fonts - For typography
- Font Awesome - For icons
- Unsplash - For free high-quality images
- Coolors - For color palette generation
Final Thoughts: Just Start Building
Looking back at my first website now, I see plenty of things I'd do differently. The code wasn't as clean as it could be, and some design choices make me cringe a little. But that's exactly the point – you learn by doing, not by waiting until you "know enough."
If you're on the fence about starting your own website, consider this your sign to go for it. Yes, balancing it with studies (especially JEE prep) is challenging, but the skills you gain are invaluable. Plus, having a personal website to showcase your projects gives you an edge when applying for internships or colleges.
Remember: Every web developer you admire started with a simple HTML file and built from there. Your journey begins the same way.
Have you started building your own website? Or are you thinking about it? Drop a comment or reach out to me – I'd love to see what you create and help if I can!
Happy coding!
- Dhruv